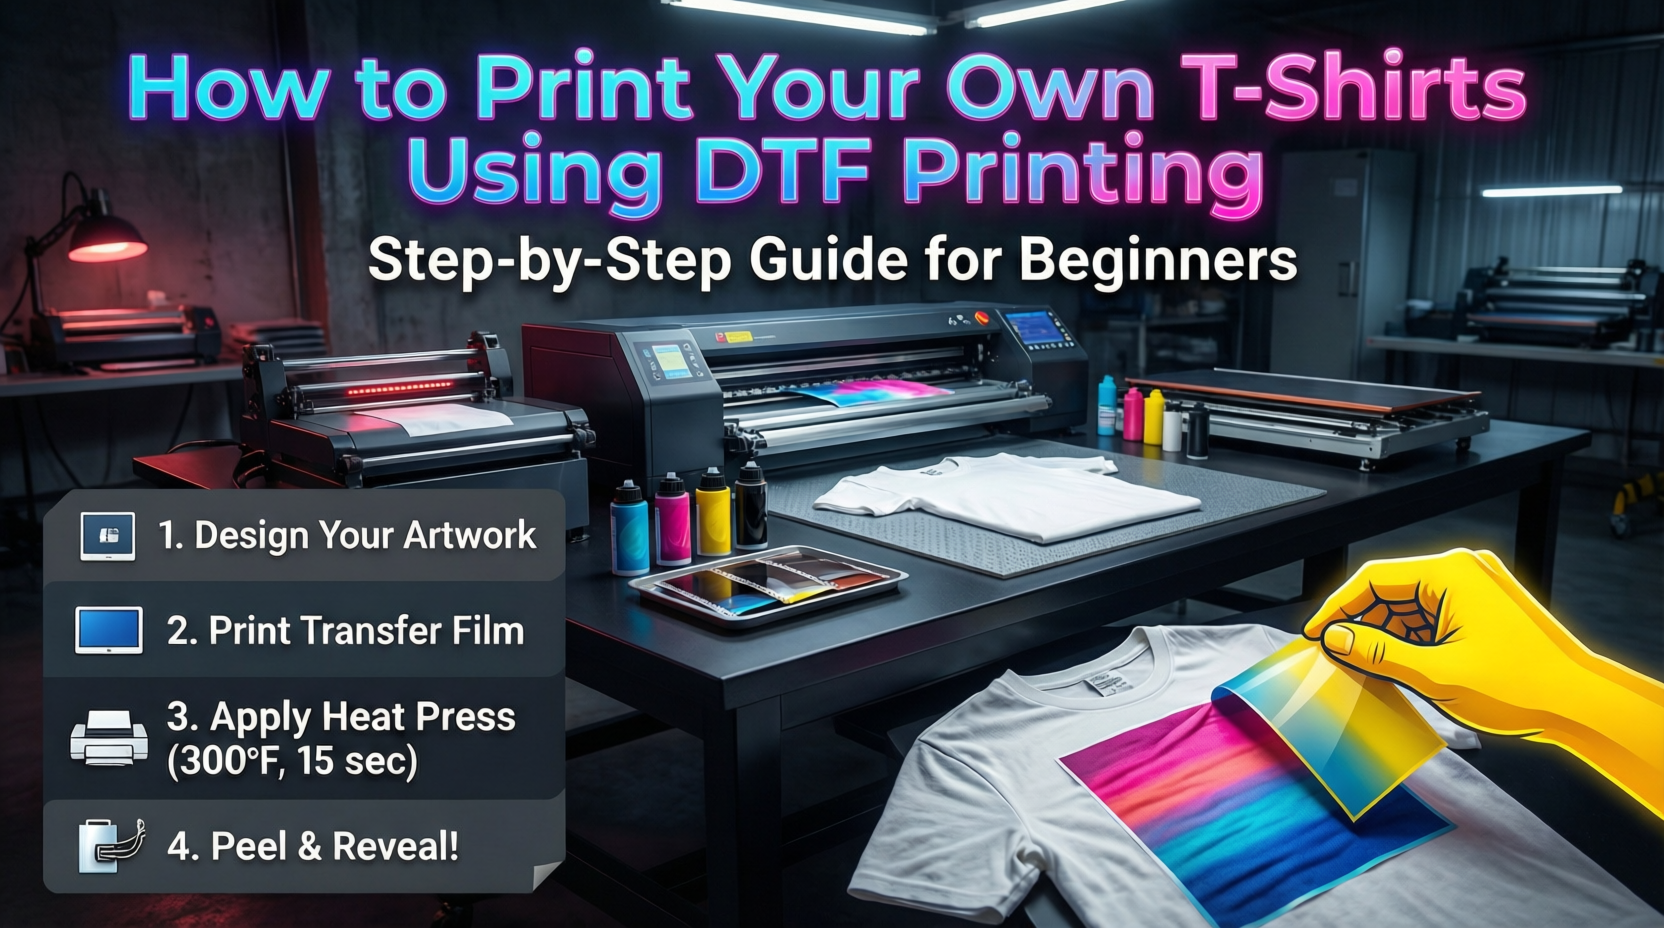
Printing your own T-shirts at home can be a fun way to make custom clothes. DTF printing, or Direct to Film printing, is a method that lets you create bright designs on fabric. This guide will show you how to do it step by step. You can use this for personal projects or even start a small business.
We will cover what you need, the steps, and tips to get good results. By the end, you will know how to make your own T-shirts with DTF.
What is DTF Printing?
DTF printing is a process where you print a design on a special film and then transfer it to a T-shirt using heat. It works well on cotton, polyester, and blends. The ink goes on the film first, then you add a powder that helps it stick to the fabric. After that, you use a heat press to move the design from the film to the shirt.
This method is popular because it gives clear, colorful prints that last through many washes. Unlike screen printing, which needs screens for each color, DTF is easier for small runs. You can print complex designs with many colors without extra setup. It also works on dark fabrics without a white base layer showing through.
To start, you need a printer that can handle DTF inks. Most people use modified inkjet printers. The film is a thin sheet that the printer uses instead of paper. The powder is a hot melt adhesive that bonds the ink to the fabric.
Materials and Tools You Need
Before you begin, gather all the items. This will make the process smooth.
First, get a DTF printer. If you do not have one, you can buy a ready setup or convert an Epson printer. You need DTF inks in cyan, magenta, yellow, black, and white. White ink is key for bright colors on dark shirts.
Next, buy DTF film sheets. They come in rolls or cut sizes like A3 or A4. Choose PET film that works with your printer.
You also need hot melt powder. This is a white powder that you shake over the wet ink.
A heat press machine is important. It applies even heat and pressure. A clamshell or swing-away press works fine. Set it to about 150-160 degrees Celsius.
Other tools include a computer with design software, like Adobe Photoshop or free options like GIMP. You need T-shirts made of fabric that takes the transfer well. Cotton works best for beginners.
Scissors or a cutter to trim the film, and a shaker for the powder if you want even application.
For supplies, check out https://www.dtflinko.com/. They offer DTF films, inks, and more.
Step 1: Design Your Pattern
Start with creating your design. Open your software and make a new file. Set the size to match your film, like 11×17 inches for A3.
Think about what you want on the T-shirt. It could be a logo, text, or picture. Keep it simple at first.
Use high-resolution images, at least 300 DPI, so it looks sharp when printed.
If your design has colors, make sure to include a white layer if printing on dark fabric. In DTF, the printer handles the white ink automatically if set up right.
Mirror the design before printing. This means flip it horizontally so it reads right on the shirt.
Save the file as PNG with a clear background. This keeps the edges clean.
Test your design on paper first to see if colors look good.
Step 2: Prepare for Printing
Set up your printer. Fill the tanks with DTF inks. Make sure the white ink is stirred well, as it can settle.
Load the DTF film into the printer. The printable side is usually matte. Check the package to be sure.
In your printer settings, choose the right media type. Use high-quality print mode for best results.
Print a test page to check if the nozzles are clear. If lines are missing, run a head clean.
Place the printer in a clean area to avoid dust on the film.
Step 3: Print the Design
Now, send your design to the printer. It will print the colors first, then the white ink on top.
Once printed, the ink is wet. Take the film out carefully.
While wet, apply the hot melt powder. Shake it over the design evenly. Cover all inked areas.
Tap off extra powder. You can reuse what falls off.
Cure the powder. Put the film in an oven or use a heat press hover mode at 100-110 degrees Celsius for 2-3 minutes. This melts the powder into the ink.
Let it cool down. The design is now ready for transfer.
Step 4: Transfer to the T-Shirt
Prep your T-shirt. Lay it flat on the heat press. Remove any wrinkles.
Place the film on the shirt, design side down. The powder side touches the fabric.
Cover with a Teflon sheet to protect the press.
Set the heat press to 150-160 degrees Celsius, medium pressure, for 10-15 seconds.
Press it. Then, let it cool for a bit.
Peel the film off slowly. If it does not come off easy, press again for a few seconds.
For better hold, press again with the Teflon sheet for 5-10 seconds.
Your T-shirt is done. Wash it inside out in cold water after 24 hours.
Benefits of DTF Printing
DTF has many plus points. It gives soft prints that feel good on the skin, not stiff like some methods.
You can print on many fabrics, including hoodies and hats.
The setup cost is low compared to other printing types. You can start with under $500 if you already have a printer.
Prints are durable. They resist cracking and fading after many washes.
It is fast for small orders. Print one shirt in minutes.
You can do full-color designs without limits on colors.
Common Issues and Fixes
Sometimes things go wrong. If colors look dull, check your ink levels or printer settings.
If the design does not stick, make sure the powder covered everything and the heat was right.
Bubbles in the print mean the film was not flat or ink was too wet.
Clean your printer often to avoid clogs, especially with white ink.
If the peel is hard, try a different film or adjust time.
Practice on old shirts first to learn.
Tips for Better Results
Use good quality materials. Cheap inks can cause problems.
Keep your workspace at room temperature. Humidity can affect the powder.
Store films and inks away from light and heat.
Experiment with pressure and time for your setup.
Wash new T-shirts before printing to remove sizing.
If you print a lot, get a shaker machine for powder.
Join online groups for DTF tips.
Conclusion
DTF printing lets you make custom T-shirts at home with ease. Follow these steps: design, print, apply powder, and transfer. With practice, you will get pro results. It is a great way to express yourself or sell items. Start small and build your skills. Soon, you will have a closet full of unique shirts.