Want a cold plunge at home but worry about safety and cost?
Cold water lowers inflammation and can speed recovery, if you keep the temperature steady.
This guide shows how to pick a tub, control temperature, keep water clean, and use it safely.
Read on to build yours.
Essential Equipment for a Home Cold Plunge
Setting up a safe cold plunge at home means having the right gear—nothing too fancy, but each piece matters. Pick strong and simple tools, as this makes your setup work well and keeps every icy dip just right.
Insulated tubs or stock tanks
Insulated tubs or stock tanks cut heat loss, and keep water cold longer. Look for rotomolded plastic or galvanized steel, with built-in foam or an added insulated cover for the best results.
Use a snug lid, and add exterior foam panels to boost temperature control. These tubs fit a chiller or hold ice, so you can control water temperature for safe cold therapy at home.
Check water temperature often, and stop if you feel lightheaded.
Water chillers or ice supply
Water chillers keep your cold plunge at the right temperature. They work by cooling the water to your set level. You can choose one based on how big your tub is. Look for a model that fits well with your setup and supports energy efficiency, especially if you’re aiming to create a more sustainable home.
If you prefer, ice can also do the trick! Just add bags of ice until the water reaches a chilly state. This method might be easier if you are starting small or want something quick and simple.
Either way, keeping an eye on the water temperature is key for safe immersion during cold therapy sessions.
Thermometer for temperature monitoring
To keep your cold plunge safe, you need a thermometer. This tool helps you check the water temperature easily. Cold therapy works best at specific temperatures. Aim for 50 to 59 degrees Fahrenheit for optimal benefits.
Using a thermometer makes it simple to monitor how warm or cool the water gets over time. You can find digital and analog options at stores or online. Choose one that is easy to read so you can keep track of your ideal ice bath temperature quickly and effectively.
Step-by-Step Guide to Building a DIY Cold Plunge
Building your own cold plunge can be fun and rewarding. You will need to choose the right tub, install insulation for keeping it cold, and set up a way to chill the water or add ice.
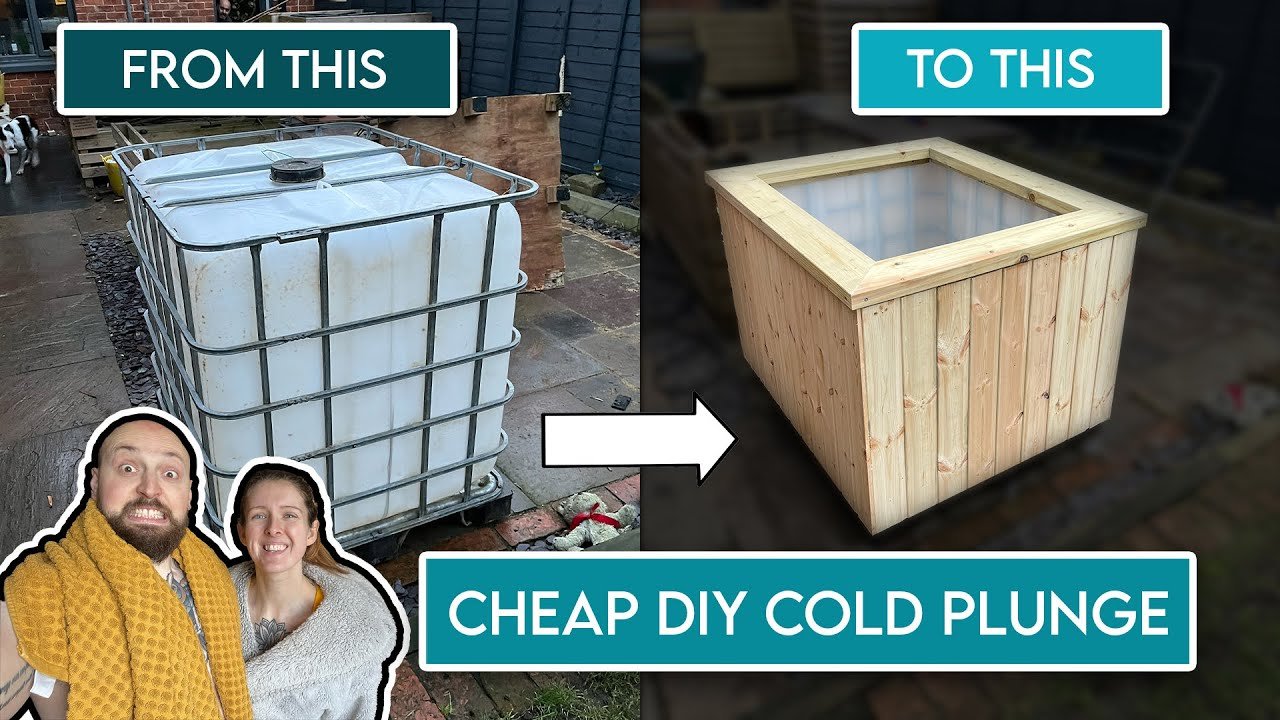
Selecting the right tub or container
Choosing the right tub or container is key for your cold plunge. Look for an insulated tub or a stock tank. These options hold the cold better and keep the water icy longer. Make sure it is deep enough to submerge your body fully for effective cold therapy.
You can find many shapes and sizes in local stores or online. Pick one that fits the space you have at home. Also, consider how easy it will be to clean and maintain hygiene. Water temperature control matters too, so ensure your chosen container works well with chillers or ice supplies for an optimal ice bath experience.
Installing insulation for temperature control
For those looking to enhance their recovery routine, a DIY cold plunge can be an effective and refreshing option.
Installing insulation helps keep the water cold. It makes your cold plunge more effective and enjoyable.
- Choose foam board insulation. This type of insulation is easy to find and install. It keeps the temperature steady.
- Cut the boards to fit around your tub or container. Measure carefully to cover all sides well. A snug fit reduces heat loss.
- Attach the foam boards with adhesive or tape. Make sure they stick well so there are no gaps. Gaps let warmth in, which affects the water temperature.
- Consider adding a layer of reflectance on top. This can be aluminum foil or reflective paint. Reflective surfaces help bounce heat away from the tub.
- Cover the top of your tub if possible. A lid traps cold air inside and keeps heat out.
- Check insulation regularly for wear and tear. Replace any damaged areas to maintain effectiveness.
- Keep your plunge tub in a shaded area if you can find one outdoors; this helps reduce direct sunlight exposure.
- Combine insulation with a water chiller for optimal results; chilling takes less time when insulation is done right.
- Use insulated pipes if you have a filtration system or pump; this prevents warm water from entering your plunge tub during use.
- Test the temperature after installing insulation; ensure it stays within your ideal range for cold therapy.
Adding a pump or filtration system
After you have installed insulation for temperature control, it’s time to focus on keeping your water clean and fresh. A pump or filtration system will help with that.
- Choose a submersible pump. This type fits well in your plunge tub and moves water easily.
- Connect hoses to the pump. These will send water back into your tub after filtering.
- Pick a good filtration system. Some filters remove dirt and bacteria, ensuring safe cold therapy.
- Set the pump on a timer. This allows it to run automatically, saving you time and effort.
- Check the system regularly. Make sure everything works well and change filters as needed.
These steps ensure your DIY plunge tub stays clean for effective cold therapy at home.
Setting up a water chiller or using ice
A water chiller keeps your cold plunge at the right temperature. Ice is another option to keep the water cold.
- Choose a water chiller that fits your tub size. Make sure it can cool to the desired temperature for cold therapy.
- Follow the manufacturer’s instructions to set up the chiller. Connect it properly, so it runs smoothly.
- Test the chiller after installation. Make sure it lowers the temperature effectively.
- If you prefer ice, buy large bags of ice or use ice blocks. This is easy and works well for colder temperatures.
- Fill your tub with water, then add ice until you reach your ideal temperature.
- Mix the water and ice together for even cooling. Stir with a long stick or just move your hands in the water.
- Check the temperature regularly with a thermometer. Adjust by adding more ice if needed.
Both methods can help you enjoy cold therapy safely and effectively at home.
Tips for Safe and Effective Use
Keep the water around 50-59 degrees Fahrenheit for best results. Limit your time in the tub to about 10-15 minutes, especially at first. Stay safe by listening to your body… if it feels too cold, get out!
Ideal water temperature recommendations
regular schedule for maintenance will ensure the water remains clean and at the desired temperature.
Cold plunges work best within a specific temperature range. Aim for water temperatures between 50°F and 59°F. This range gives the most benefits without causing too much shock to your body.
Submerging in cold water can reduce muscle soreness, boost recovery, and improve wellness. A thermometer is essential to keep track of the temperature. Regular checks will ensure you stay within that beneficial zone while enjoying your ice bath experience!
Suggested duration and frequency
Cold therapy works best when used correctly. For beginners, start with short sessions of 1 to 3 minutes. You can slowly increase your time as you get used to the cold. Aim for about 10 to 15 minutes once or twice a week.
Maintaining a regular routine is key for recovery and wellness. Try not to go longer than that to avoid shock or strain on your body. Staying consistent helps you enjoy all the health benefits of cold plunges without overdoing it.
Proper sanitization and maintenance
Proper sanitization and maintenance help keep your cold plunge clean and safe. Regular upkeep ensures you enjoy the best health benefits from your ice bath.
- Change the water every 4-7 days to maintain hygiene. Stale water can grow bacteria that may harm you.
- Use a pool filter or pump to keep the water circulating. This helps prevent dirt and debris from building up.
- Add a sanitizer, like chlorine or bromine, to kill germs in the water. Follow label instructions for the right amount.
- Test the water regularly with test strips for pH and sanitizer levels. This ensures safe bathing conditions.
- Clean the tub or tank with mild soap or vinegar weekly. Scrubbing removes any buildup that could affect your experience.
- Cover your plunge tub when not in use to keep out leaves, bugs, and other contaminants.
- Monitor temperature closely using a thermometer, ensuring it stays within safe limits for cold therapy.
Staying on top of these steps makes your home spa experience enjoyable and effective. Next, let’s explore common challenges and how to overcome them.
Common Challenges and How to Overcome Them
Keeping your cold plunge at the right temperature can be tricky. You might struggle with heat loss or dirty water, but easy fixes can help.
Preventing heat loss
Heat loss can be a big problem for your cold plunge. To keep the water chilly, use insulation. Insulated tubs or stock tanks are great choices. They help trap the cold air inside and stop heat from escaping.
Covering your tub is also smart. Use a lid or tarp when not in use. This simple step can save energy and keep the water cool longer. If it’s really cold outside, check for places where heat might leak out, like gaps or cracks.
Fix those spots to make sure your plunge stays icy and ready for use!
Managing water hygiene
Clean water is key for your cold plunge. You need to keep the water clear and safe. Start by using a filter system. This helps remove dirt and debris. Change the water regularly, too.
Aim for every few days or at least once a week.
Chlorine can help sanitize your tub. Use chlorine tablets but follow directions carefully. Test the water with a thermometer often to make sure it stays clean and safe for submersion.
Avoid algae growth by keeping the tub covered when not in use; sunlight can cause problems here, so stay on top of these tasks for an easier cold therapy experience!
Winterizing your setup
Winterizing your setup is key to keeping your cold plunge ready for use. Start by insulating the tub or stock tank well. This helps keep the water cold during chilly months. If you live in an area with freezing temps, consider using a water heater or chiller to prevent ice from forming.
Check the filtration system too; ensure it works even in winter. Regularly clean and sanitize your plunge to avoid issues with dirty water. Cover the tub when not in use to protect it from debris and snow.
With these steps, you can enjoy cold therapy year-round, no matter the weather outside.
Conclusion
Creating a cold plunge at home is fun and beneficial. You can enjoy the perks of cold therapy with just a few steps. Choose the right tub and keep an eye on water temperature for safety.
Regular maintenance helps your setup last longer. Enjoy your new chill spot and feel great!